


Personalized recommendations tailored to your needs, not your budget, by Thunder Laser
Extensive video training and support to fuel your creativity
Seamless logistics and local warehouses for swift delivery
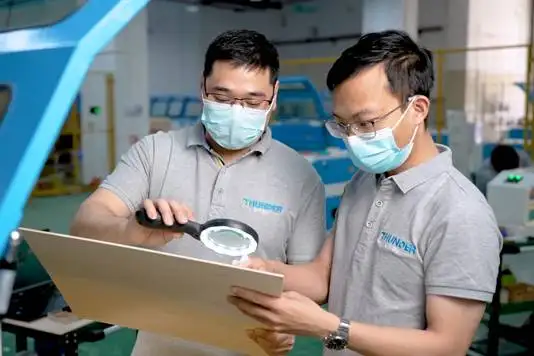
Strict dimming and quality inspection exceeding 5 times


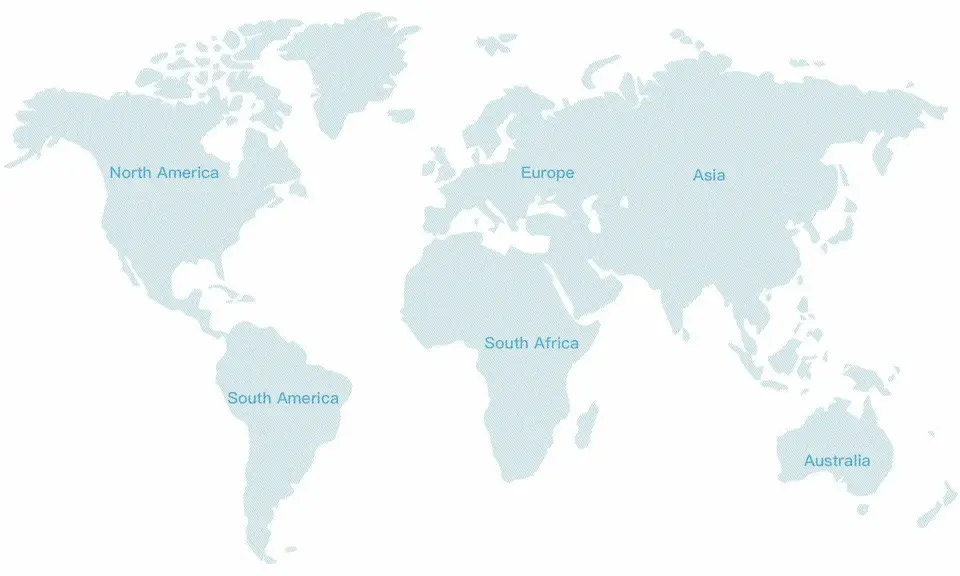
.png "laser cutter Globle") International
International
 United States
 Brasil
 Canada
 Costa Rica
 Česká
Česká
 Ελλάδα
 Polska
 Ireland
 Portugal
 Lietuva
 Россия
 Deutschland
 Britain
 Україна
 France
 Sverige
 Italia
 Norway
 한국
한국
 中国
中国
 ประเทศไทย
 中国香港
中国香港
 Israel
 中國臺灣
中國臺灣
 India
India
 پاکستان
 پශ්රී ලංකා
 Australia
 New Zealand
 South Africa